Installing and Configuring GLPI on Debian 12: My Complete Experience
Introduction
Today, I installed and configured GLPI on a Debian 12 server while overcoming several technical challenges related to configuring Apache, PHP, and MySQL. This article will walk you through each step, from start to finish, so you can follow along and securely install GLPI.
Step 1: Setting up a LAMP Server
The first step was to install a LAMP (Linux, Apache, MySQL, PHP) environment on my Debian 12 server. I chose MariaDB as my database management system. Here’s how I did it:
sudo apt update
sudo apt install apache2 mariadb-server php libapache2-mod-php php-mysql
Step 2: Configuring MariaDB
Next, I secured MariaDB and created a dedicated database for GLPI. Here’s how I created the database and user:
CREATE DATABASE glpi;
GRANT ALL PRIVILEGES ON glpi.* TO 'glpiuser'@'localhost' IDENTIFIED BY 'yourpassword';
FLUSH PRIVILEGES;
Step 3: Downloading and Installing GLPI
After configuring the server, I downloaded GLPI from GitHub and extracted it into the web directory:
wget https://github.com/glpi-project/glpi/releases/download/10.0.10/glpi-10.0.10.tgz
tar -xvzf glpi-10.0.10.tgz
sudo mv glpi /var/www/html/
Step 4: Securing and Configuring Apache
For security reasons, I changed Apache’s root directory to only serve the public part of GLPI:
<Directory /var/www/html/glpi/public>
Require all granted
AllowOverride All
</Directory>
I also enabled the mod_rewrite module to allow URL rewriting:
sudo a2enmod rewrite
sudo systemctl restart apache2
Step 5: Setting Permissions and PHP Security
I configured the file permissions so Apache could access GLPI’s files, and then I secured PHP session management by enabling the session.cookie_httponly directive to prevent JavaScript from accessing session cookies:
sudo chown -R www-data:www-data /var/www/html/glpi
sudo chmod -R 755 /var/www/html/glpi
I edited the PHP configuration to enable this directive:
session.cookie_httponly = On
Step 6: Finalizing GLPI Installation
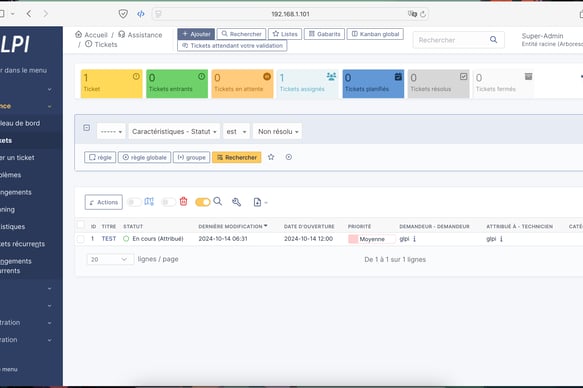
After completing these steps, I launched the GLPI installation through the web interface. Once I entered the database connection details and finished the installation, I removed the install.php file for security:
sudo rm /var/www/html/glpi/install/install.php


Conclusion
Setting up GLPI on a Debian 12 server requires properly configuring a LAMP environment and ensuring rigorous security. I made sure to follow all the security steps, especially for sessions and sensitive files. GLPI is now fully operational and ready to use.
Next Steps
My next objective is to configure and test GLPI’s advanced features, such as the FusionInventory plugin. Stay tuned for more updates!
This article structure should give your readers a clear and detailed guide on what you did today. Feel free to adjust it to match your style and add screenshots or additional steps if needed. Let me know if you need any changes!